Hard Pruning Sunburst St. John’s Wort
Hard Pruning Sunburst St. John’s Wort
Hypericum frondosum ‘Sunburst’
Hard pruning of Sunburst St. John’s Wort may be necessary. They grow as a very bushy shrub, growing pretty much in a rounded shape without any interference from us. Since they only get to be about 3 or 4 feet in size, I find that they add a nice round piece of fine texture in my yard.
The leaves are very narrow, maybe a quarter of an inch wide. They are almost 2 inches long and grow in layered clusters up and down the branches. With all these branches and long narrow leaves, they really take on a full-bodied appearance.
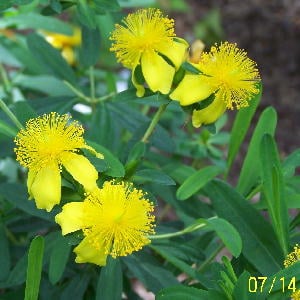
The flowers seem to completely cover the bush in late spring to early summer. They are small yellow flowers almost an inch and a half in diameter. They are really rich yellow in color.
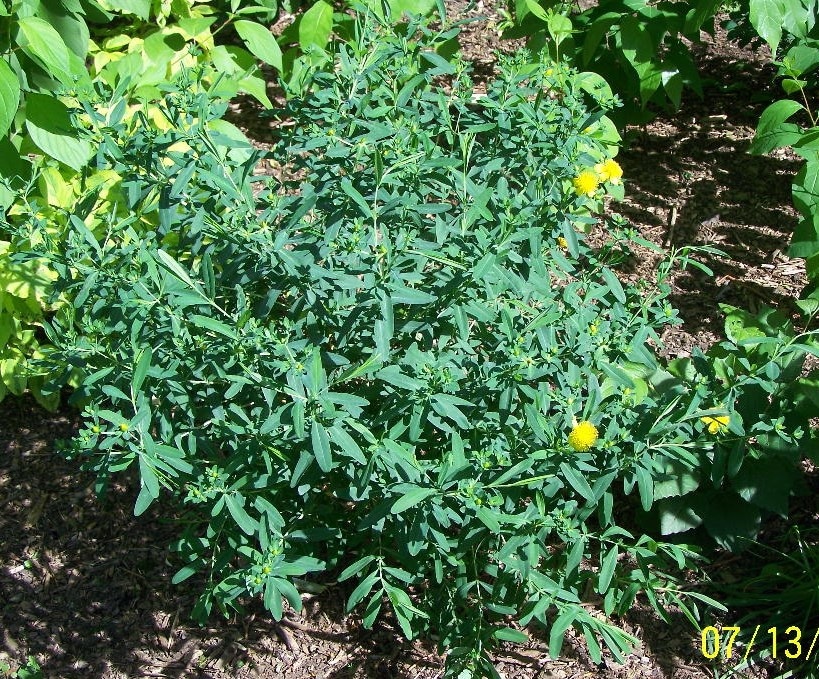
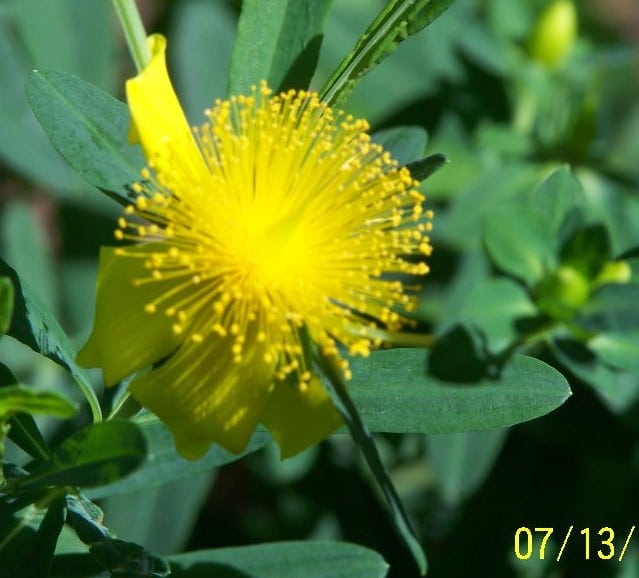
There are several petals that seem insignificant when viewing the flower. That is because of the round, open pom pon type appearance that the main part of the flower has. These shrubs will light up a semi-shady area with bright yellow blooms.
They do well in full sun or part shade. Too much shade limits their growth and flowering ability. I have one that grows in too much shade. It is very small compared to the other ones I have growing in full sun or part shade.
I have 4 of these bushes growing in my yard. They were all the same size when I bought them about 7 years ago. I did not prune them the first few years and they got a bit lanky.
Time to experiment
Since I had more than one, I experimented with one of them when they were dormant. The bush was almost 4 feet in size. It was very open on the inside and down low.
I chopped it down by about half. Like I said, this bush was dormant. You don’t want to do this while actively growing. It was late November or early December when I did this. I didn’t know if rejuvenating these would work or not.
When warmer weather finally got here the next spring, this bush started leafing out just like the others. It didn’t even realize it had a severe trimming.
It grew out nice and full, flowering right on cue and looked 100% better in the process. The experiment was a success!
Time to experiment again
The next year saw me out with my pruners again. This time it was the second bush that was getting chopped. Experiment part 2.
Once again it was late in the year when I did the chopping. If someone would have seen me doing this, they would have thought I was nuts or something. Once again the bush grew nice and full, bloomed on time and looked great.
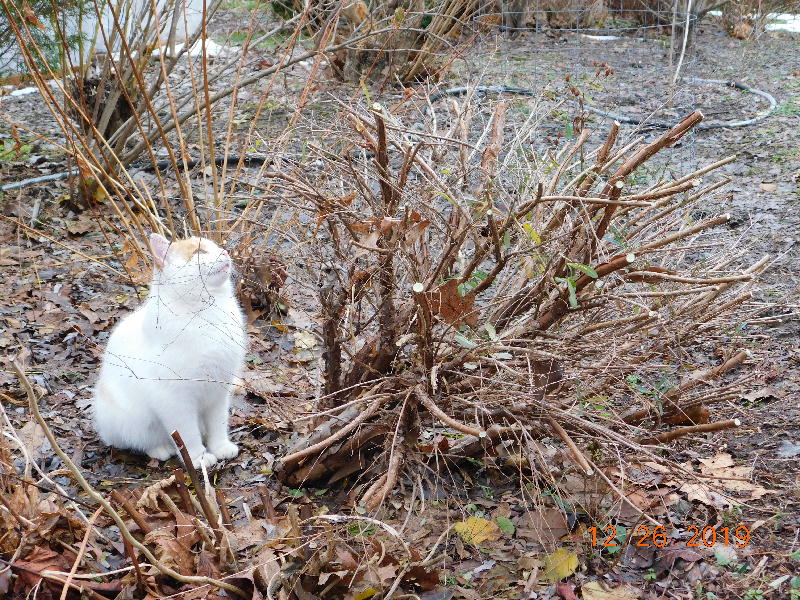
These are the previous experiments. If you look close, you can see where these were cut down and the new growth from there up.
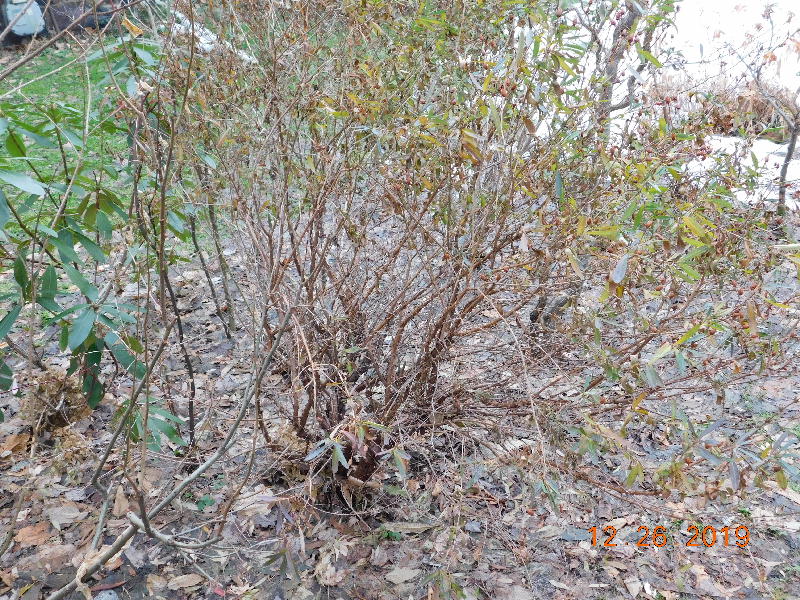

This year it is time for the remaining 2 to get chopped back. One grows in full sun and is a little out of shape because it grows out from under a large Dappled Willow. The other one is the small one in the shade.
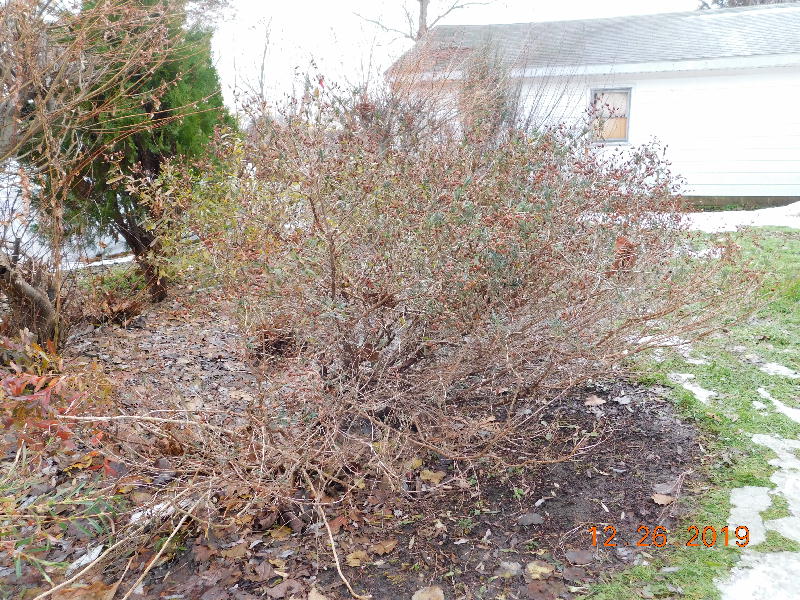
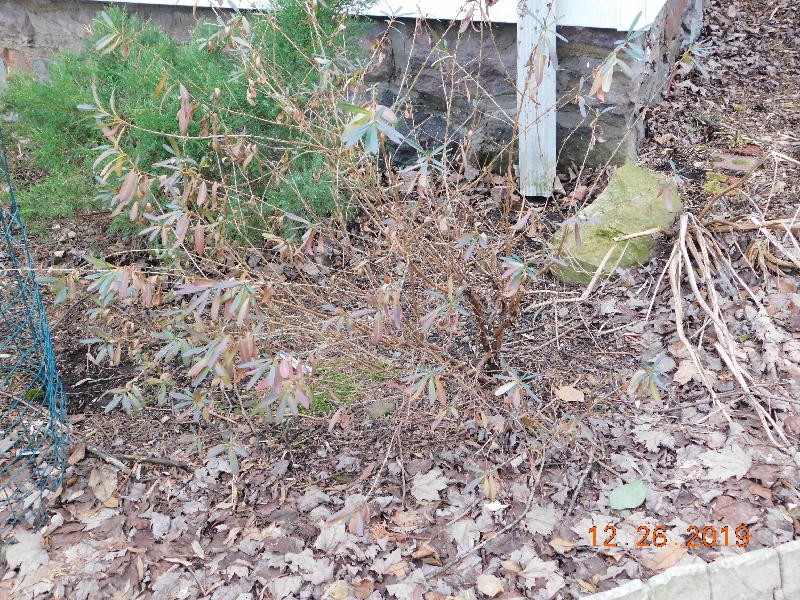
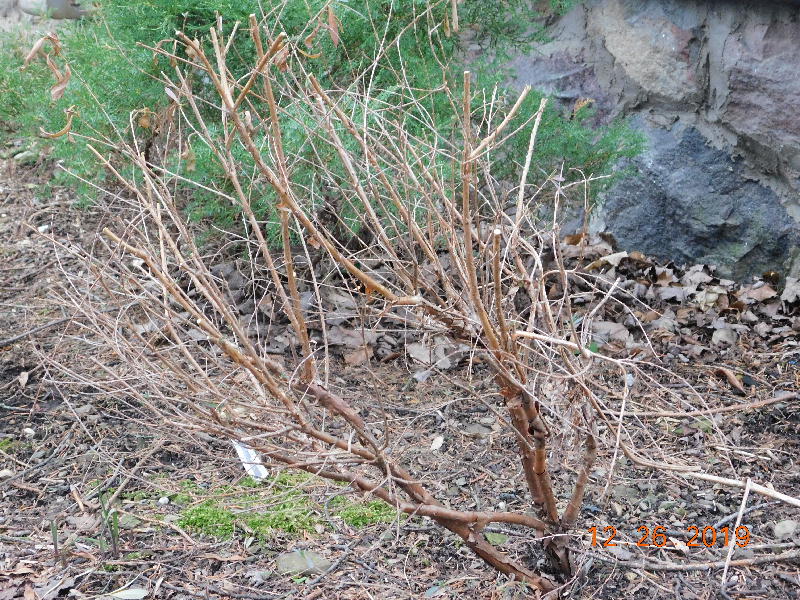
I am a little late doing it this year. It is after Christmas, but hey, its 50 degrees outside! I had the camera with me today so you can witness my insane sanity with my pruners.
Notice the drastic difference in size. Nothing fancy just cut everything about in half. Quite a pile of branches to be disposed of.
But wait. There are actually lots of hardwood cuttings on these branches. Around here I try to adhere to the mantra that “if it grows here, it gets used here”.
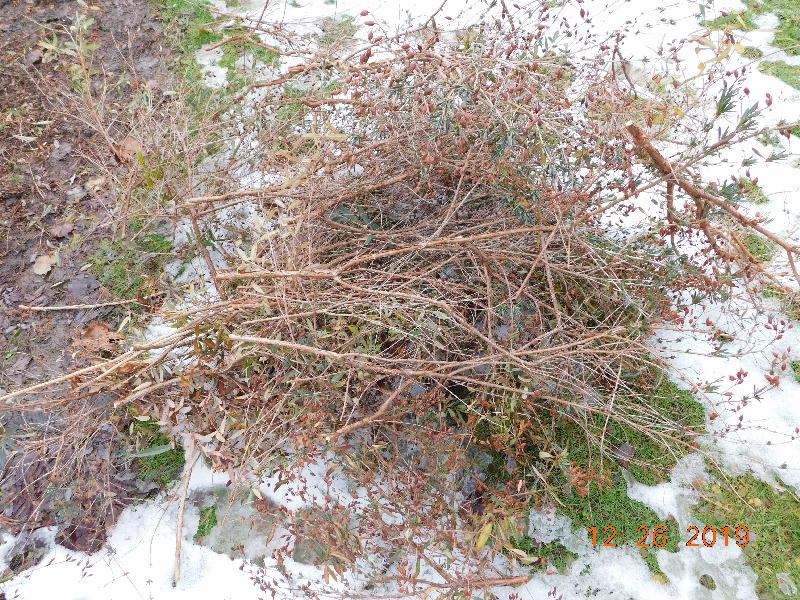

I try to use as many of the cuttings as possible. The compost pile gets as much as possible as well. Larger branches and limbs often get ground up for mulch. I have actually already sold most of the hardwood cuttings from the large one because I knew what was coming.
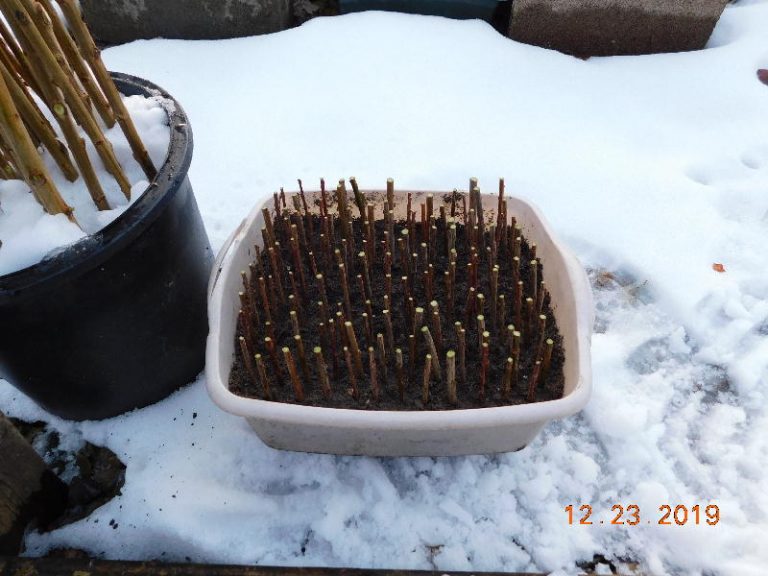
The pile from the small bush was cut up for cuttings. That little pile yielded over 125 cuttings. Off to the sandpile to fill a dishpan with sand.
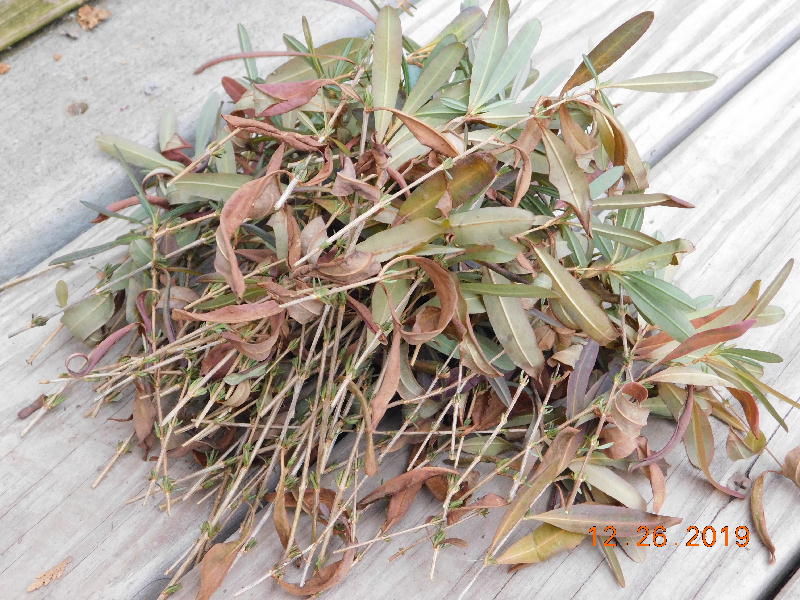

Rooting hormone could be used, but I don’t use it on these. Just remove any leaves at the bottom and poke them in the sand. Simple as that.
I watered the cuttings to settle them in and set it on the ground for the rest of the winter weather ahead. Don’t forget to mark them. I use an old plant tag plus write it down in a small notebook.

You would be surprised how many things look alike when they start growing. Hopefully, I will have at least 75% success with these rooting next summer.
