Growing Dogwood Seeds
Growing Dogwood Seeds
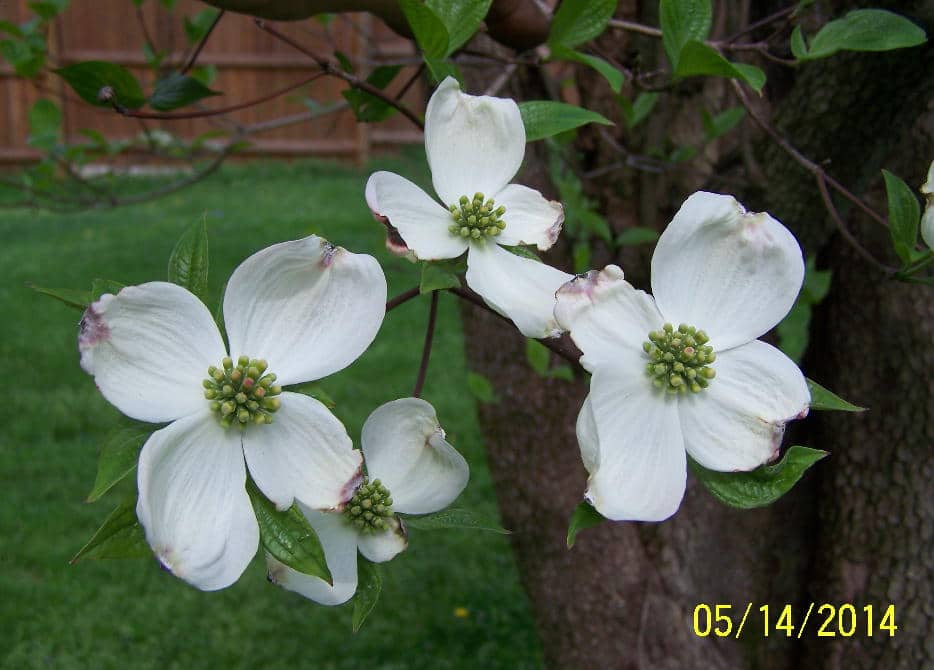
Growing Dogwood seeds is actually quite simple. White Dogwood trees are actually native understory trees. They are smaller trees that can sometimes be found growing at the edges of the woods.
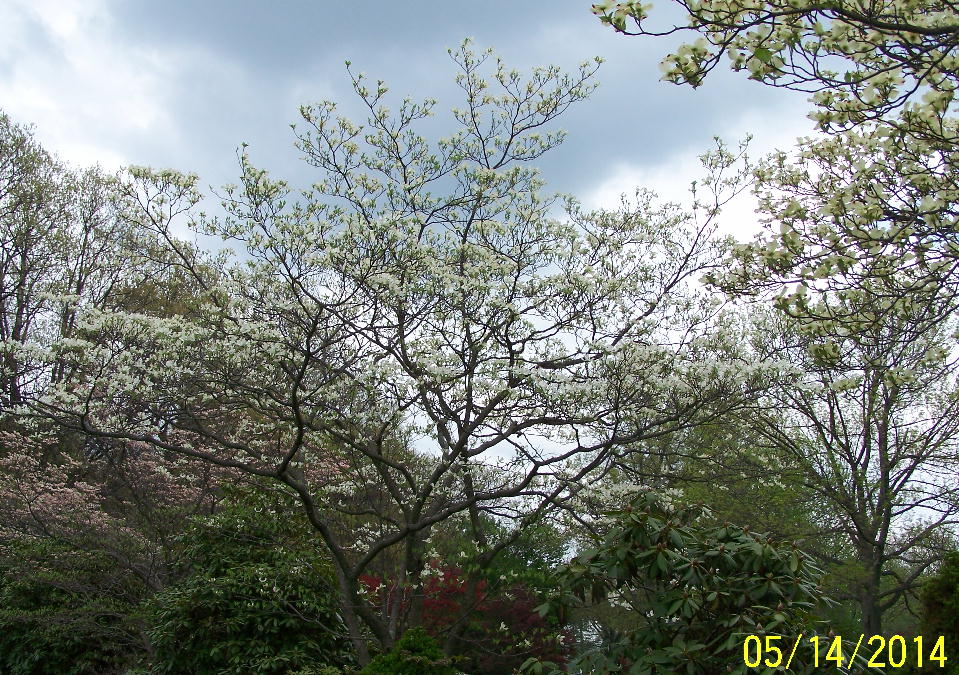
After their showcase of large white flowers in the early Spring, the trees become somewhat normal looking. Along comes fall weather and the leaves start taking on a purplish tint. Red seed pods develop in clusters all over the tree.
In nature, these seeds may take a few years to germinate, if at all. They are a favorite food for many birds and small wildlife. The fruit covering prevents the seeds from germinating as well.
Here at the nursery, we try to grow these trees with as high a percentage as possible. The seed pods are gathered as they start falling from the trees. The seeds are soaked in water. The fruit coating is removed by repeatedly rubbing until it is removed. It is a messy process, but necessary.
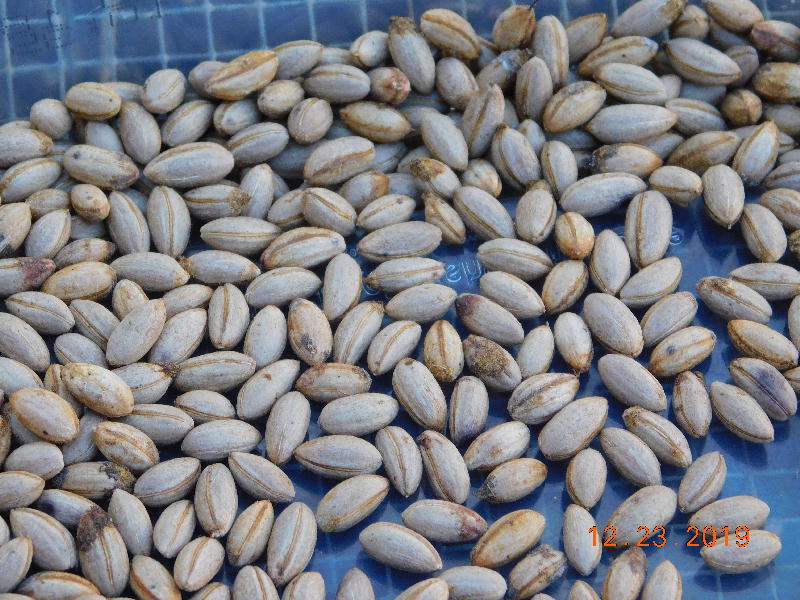
The seeds are dried on a sheet of newspaper. Then they are kept in a plastic container with holes for ventilation. They are stored outside in the shed to allow for temperature swings.
2 ways to do the same thing
I have done Dogwood seeds 2 different ways and both have good success. One way involves looking at your last frost date in Spring and counting backward. The seeds need a cold period of about 120 days or so before they will grow.
Counting back about that many days, start the cold treatment. The best way to do this is in the refrigerator. The veggie drawer works best.
Seal them in a plastic bag of damp sand or potting soil. I prefer potting soil over sand. Take a fork, or something similar, and poke some breathing holes in the bag. This allows the bags to breathe and reduces mold formation.
After about 100 days, start checking the bags for rooting seeds. Once there are seeds with roots sprouting, they can be taken from the bag and sown in potting soil to grow on. Use your favorite method for this. Trays, small pots or whatever.
Second way
The second way is almost like nature does it. We just up the percentages for success. The seeds have a very hard coating that prevents germination. The surface has to be compromised.
The long cold period is one way. A long hot soak in water overnight is another. Some people nick the seeds with a small file to allow water inside. That may be fine for a few seeds, but not for a large quantity.
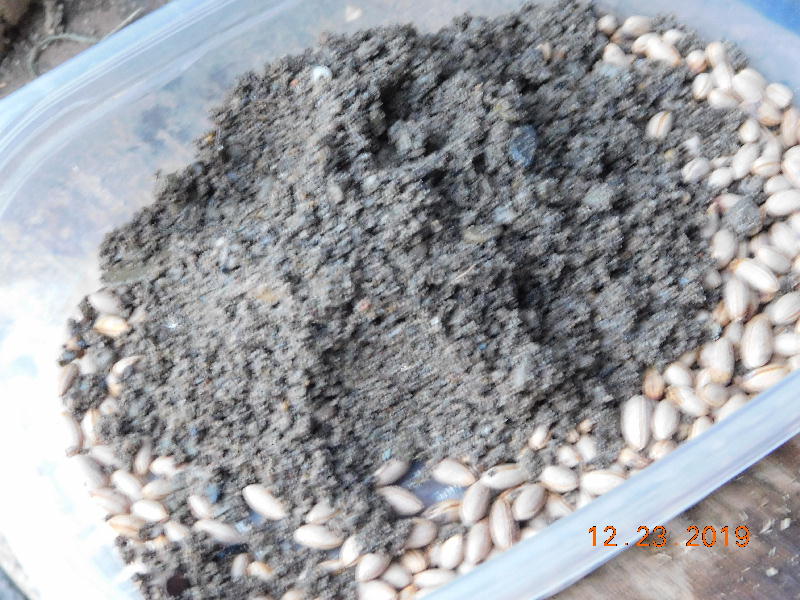
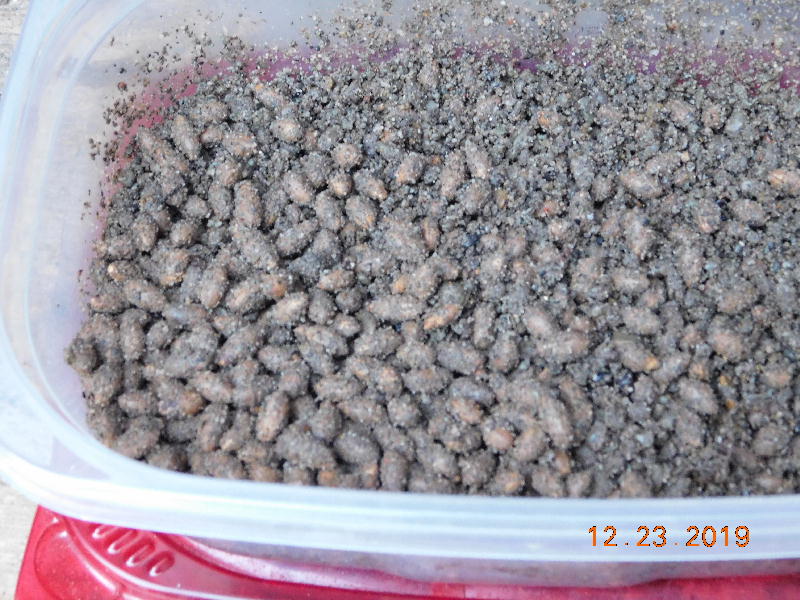
I like to take a small amount of my coarse sand, which is abrasive, and add it with my seeds. I then shake the seeds with this sand for several minutes. This causes lots of small abrasions or nicks. The end of December seems to work well for me.
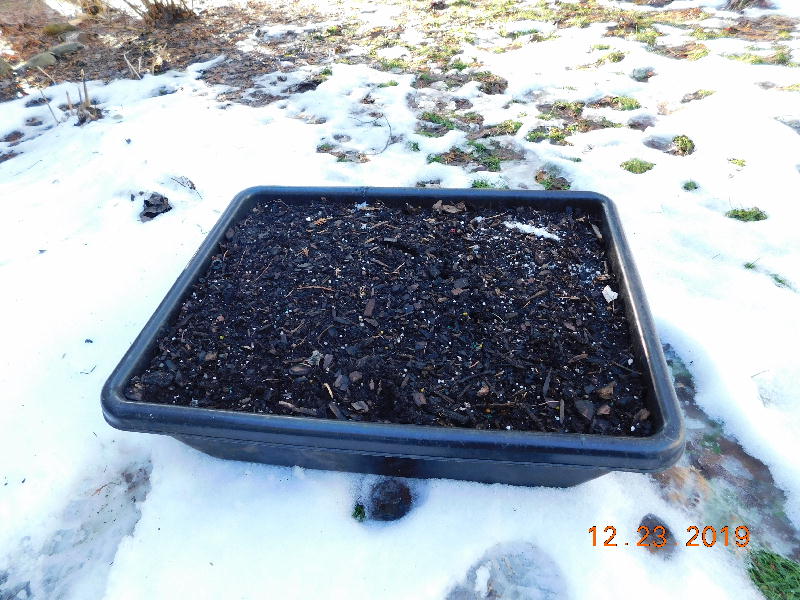
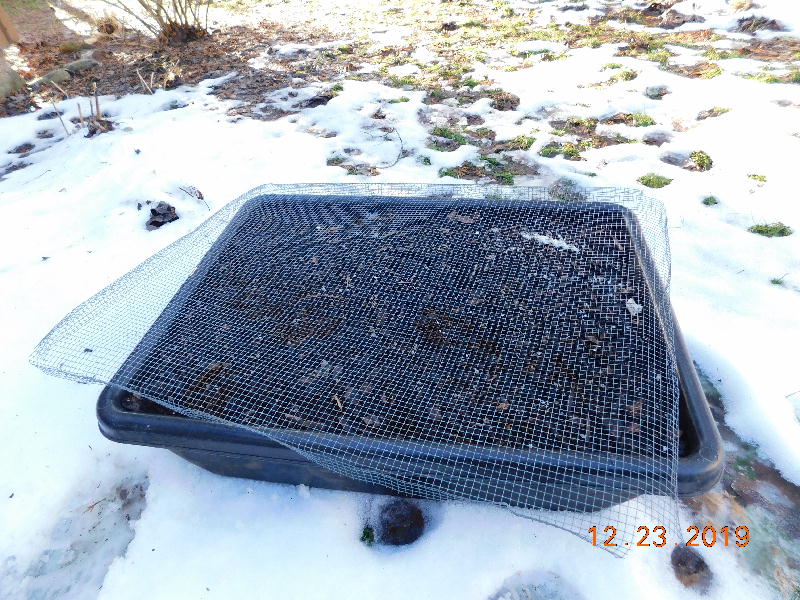
I then take this sandy mix of seeds and spread them out over the top of a large container of damp potting soil. Don’t worry about perfect spacing, remember nature? In my case, I use a cement mixing tray with lots of drainage holes drilled in the bottom.
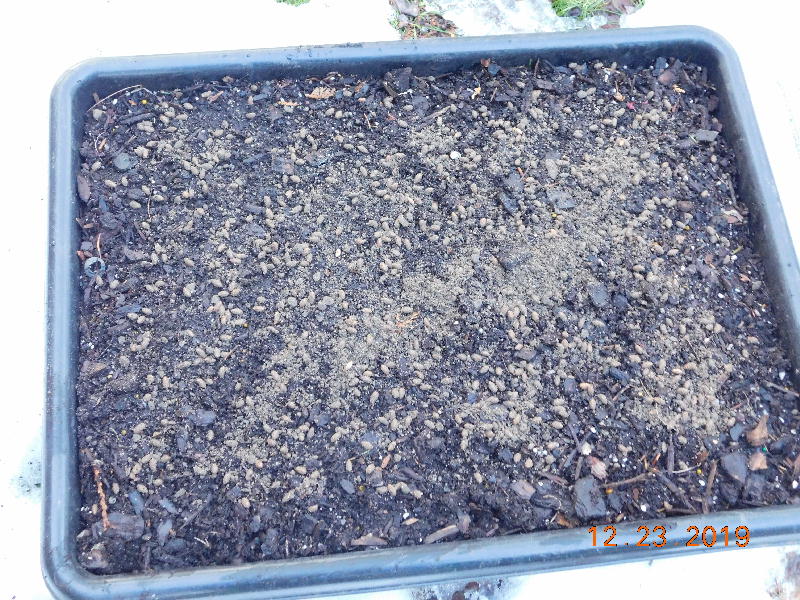
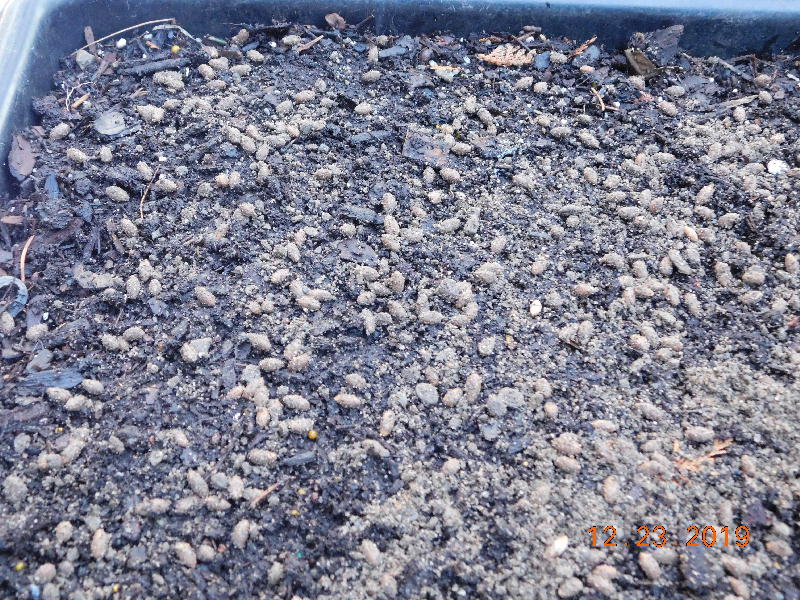
Once the seeds are spread out on the surface, I lightly cover them with a thin layer of additional soil. Roughly about a seed thickness on top. A little watering will also help now.
Cover ’em up
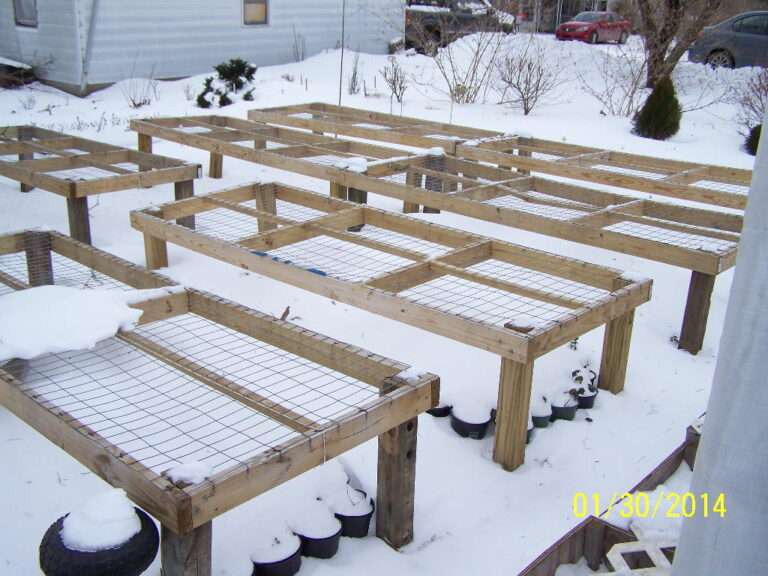
Last but not least by any means, cover the top with a piece of hardware cloth. Make sure the edges and corners are closed up well. Little critters just love that you have set out their favorite seeds for them. The hardware cloth keeps them out.
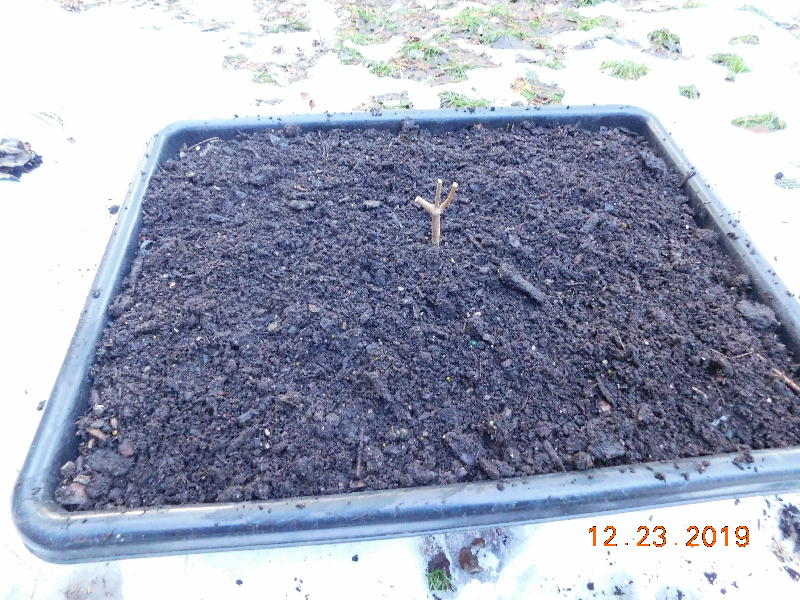
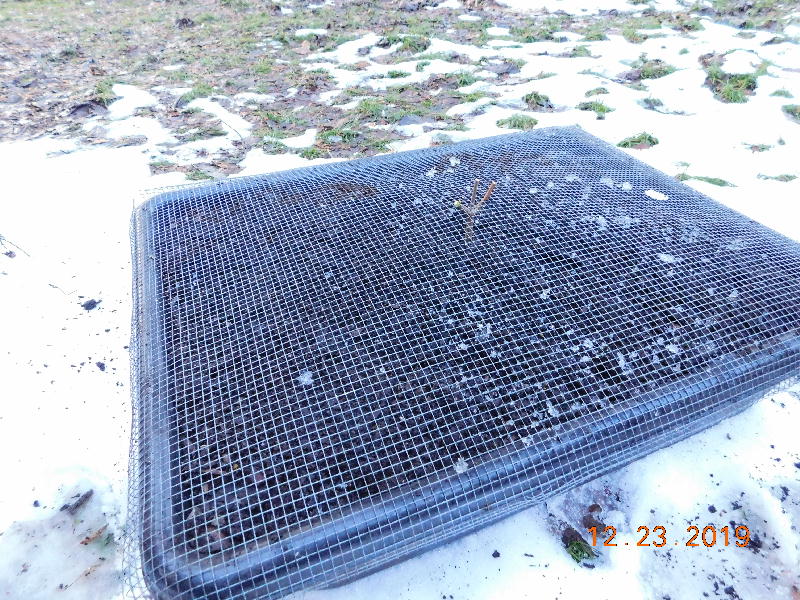
I like to use a small forked stick poked in the center to help support the hardware cloth. It keeps wet snow from flattening down on the top. Now just place on the ground in a protected area out of harm’s way.
Once you see sprouting in the spring, remove the top. They can be grown in this container for a year or so. I remove any that are too crowded or growing deformed. Best to remove the seedlings and pot them while they are dormant.
