How I wintersow seeds for beautiful plants
How I Wintersow
Wanna know how I wintersow? Well my techniques are about as close to naturally growing plants as it gets. No warm greenhouse, no artificial lights, just seeds, soil, and the elements of nature.
People from all growing zones or regions can do wintersowing with good results. What I will show is how I do it in our cold and snowy area of the country. The main thing to remember is that you are trying to mimic nature.
Gather the seeds
There is an endless supply of seeds that can be had by mail order companies. You want the ones that naturally drop their seeds in late summer or fall and grow the next spring.
Some people start vegetables like this as well. I don’t and I won’t try to tell you how to do it. It’s just not something I do.
I use seeds gathered from perennials and trees that are growing in my yard. Keep in mind that if a plant is a hybrid, a cross breeding of different plants, the seeds will not look like the parent plant or they may not grow at all.
Things needed for success
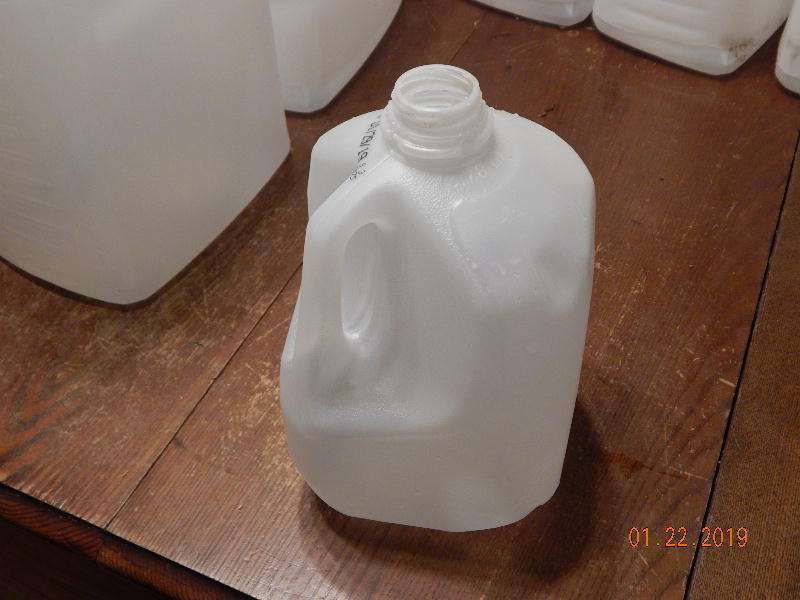
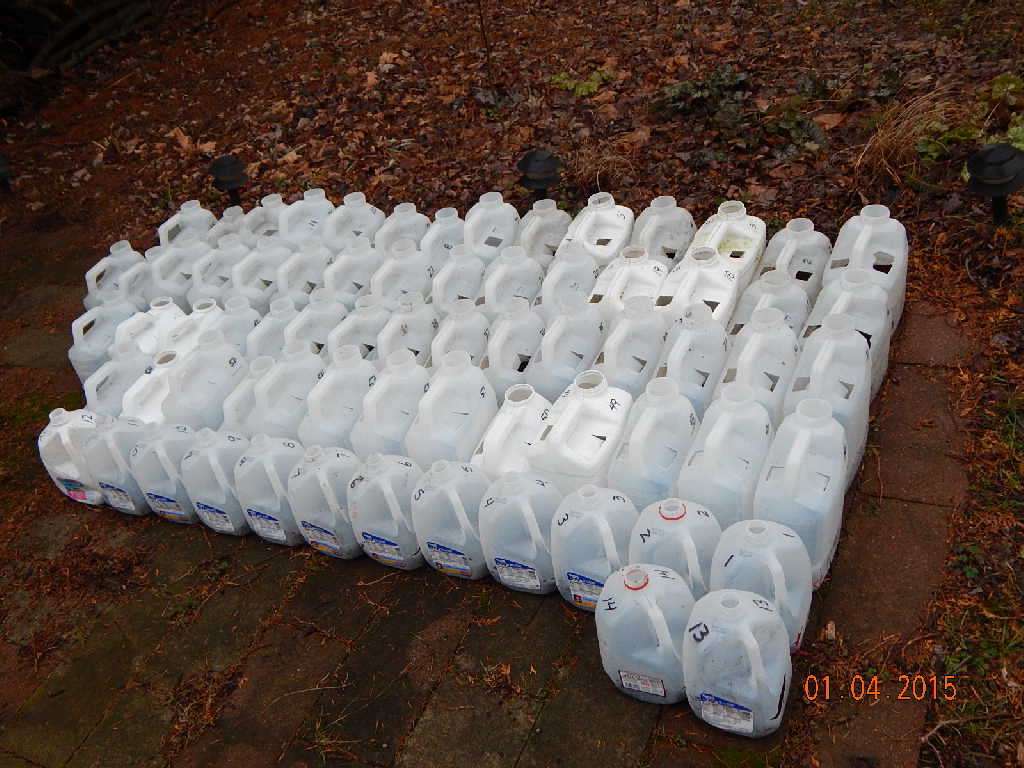
A rinsed out clear white milk jug is our growing container. Think of it as a mini greenhouse if need be.
Nothing high tech needed here. An empty container, some potting soil and a place to set it out in the elements are all that is needed.
The goal is to provide an environment where the seeds can be protected while they germinate and start to grow. Empty milk jugs make a perfect container and will accommodate quite a few seeds.
Drainage holes are added and the jug is cut open on 3 sides. With the lid removed, snow and/or rain can get in and provide the needed moisture.
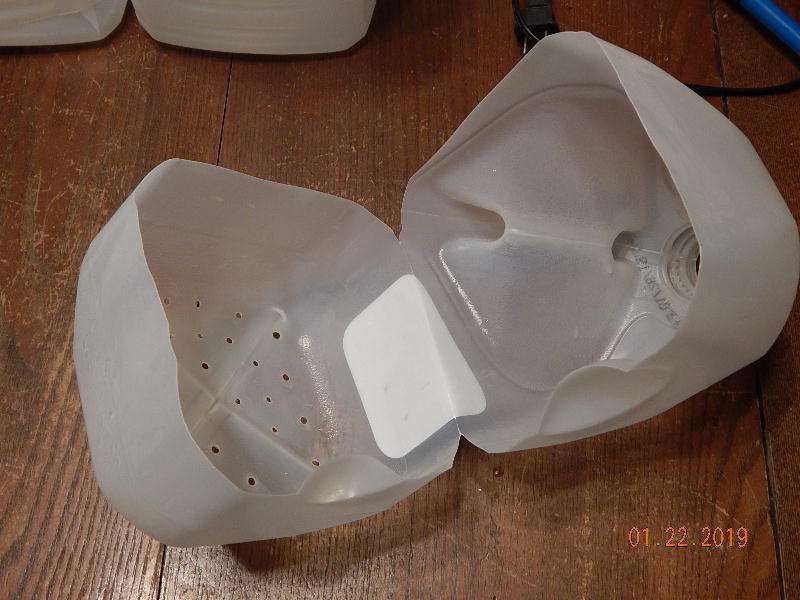
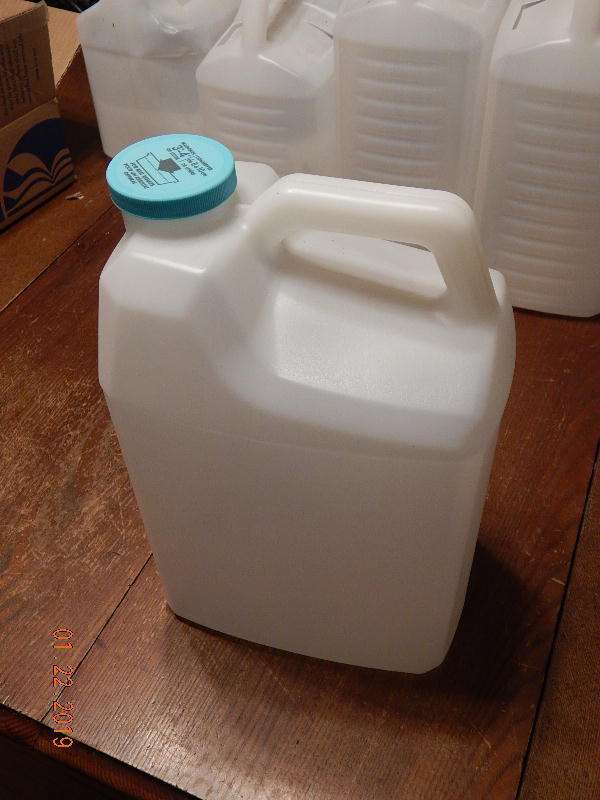
For something a bit larger, try a kitty litter jug. With a little extra knife work, they can be turned into a wintersowing container for several years use.
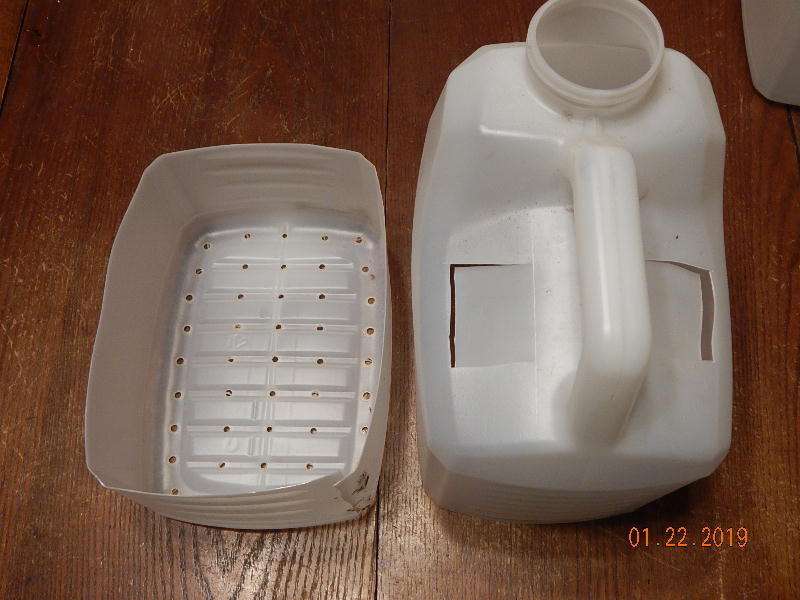
They are larger and will hold more seeds. They also lend themselves to a different design that allows the top to be removed completely. This also enables them to be used for several years.
I have some that I have been using for 3 or 4 winters. Keeping themout of direct sunlight during the summer months is required.
Making a cut about 2 1/2 to 3 inches from the bottom creates this 2 piece container. Drainage hole are added in the bottom. Cuts in the top near the handle create roof flaps.
These allow moisture (rain/snow) to fall in on that area of the bottom. I learned this my first winter. Only seeds at the open end grew. Now I get more plants across the whole area.
Some tools will make it easier
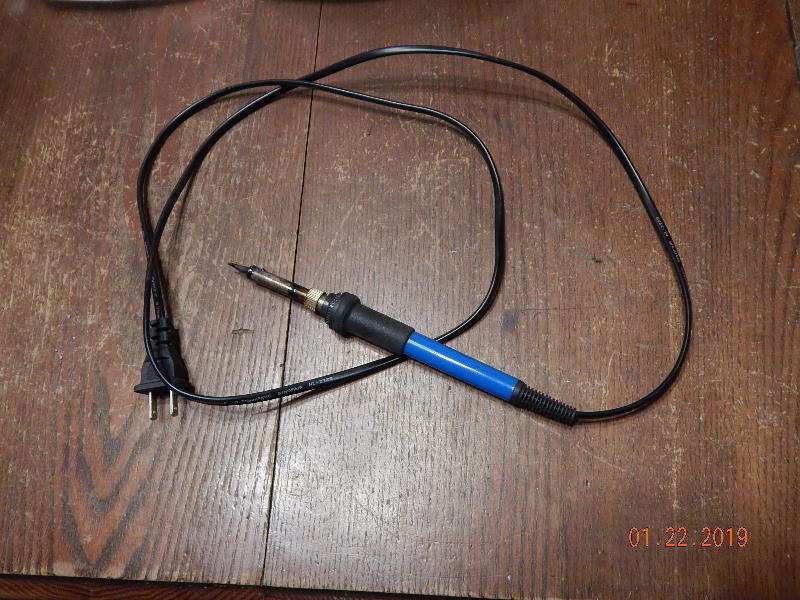
As always, if you have the right tools, the job will get done much easier. I have a cheap soldering tool that was purchased online to melt drainage holes in the bottoms of my containers.
You gotta have drainage or they will get too wet. A knife or drill will also do the trick, but I like to melt the holes.
A retractable razor knife works really well for cutting the jugs apart and making alterations. Some people use duct tape to close up their milk jugs but I prefer to do it this way.
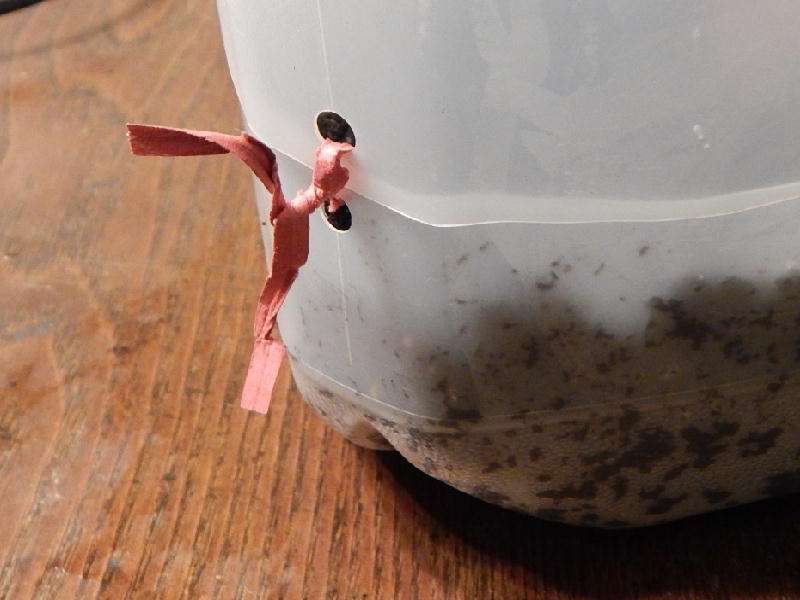
A hole punch can pop a pair of holes in both top and bottom of the milk jug. Then a twist-tie is used to hold them closed.
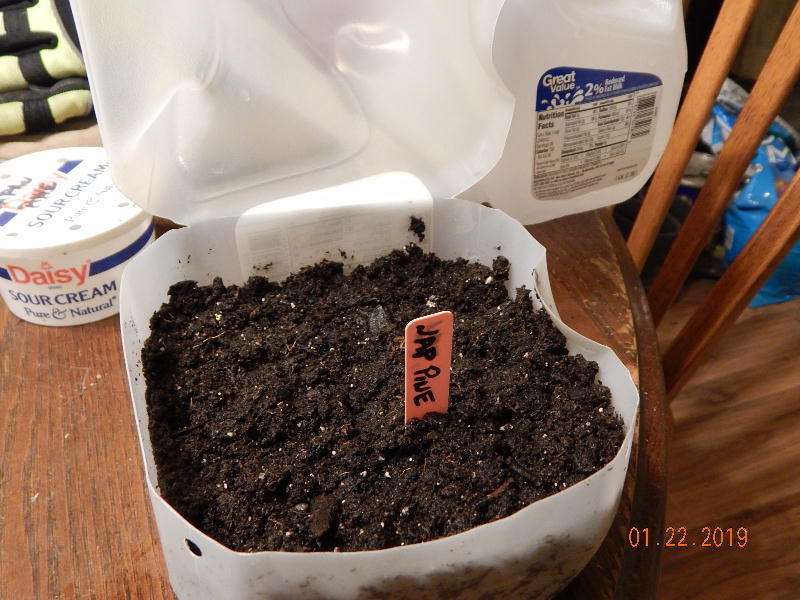
All you need to do now is add the potting soil and the seeds. I wet the potting soil first. I start with a large container and use it from there. Easier for me this way.
Scoop in enough soil to fill the bottom layer of the milk jug. Sprinkle on the seeds, scattering them perfectly even across the top. Haha, just seeing if you’re paying attention.
Dust a fine layer of soil over the seeds and close it up.
Here kitty, kitty
If you are using cat litter jugs, the process is basically the same. Fill the bottom with dampened potting soil and add seeds. Once the seeds have been covered, slide on the top. It will be easier to do this if you cut one corner of the bottom.
With the top now over the bottom it can be taken outside and set somewhere the rain/snow will fall on it. Just handle the litter jug carefully since you can’t use the handle. Trust me, they don’t stay together with soil in the bottom for weight. Don’t ask.
Label, label, label
I don’t care how great you think your memory is. It doesn’t matter how many plants you can identify. Each of these containers need to be labeled.
A tag inserted in the soil with the name may get you by. Personally, I have had success with numbering each jug with a “permanent” marker. The weather may reduce the black ink to a barely readable haze by spring.
I write down the numbers in a notebook kept in the house. I also place the jugs in numerical order. See where I’m going with this? Now if I can only remember where the notebook is…
Location, location
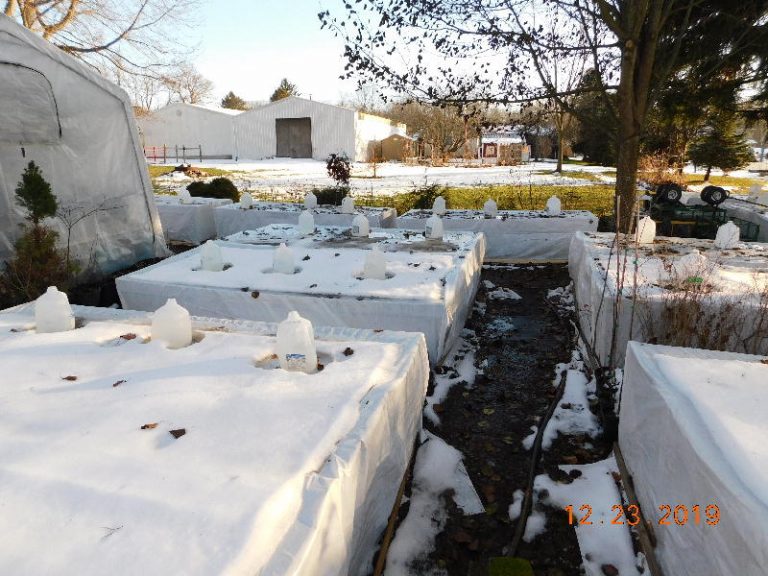
Where you place your jugs isn’t totally important. Here in the cold white North, I find an area on the ground that allows the snow/rains to fall on them. The ground keeps the bottom warmer.
I also don’t want large amounts of snow to fall on them. Think snow falling from a roof. Not a good thing for those poor jugs.
I have an area under some bare trees that I use. By Spring the leaves start growing and add some shade. By then the seeds should be starting to grow.
A few years ago, my good friend and mentor, Mike McGroarty was here and shot some videos. One was of my wintersowing area. It was a cold rainy day in March and we were a bit wet.
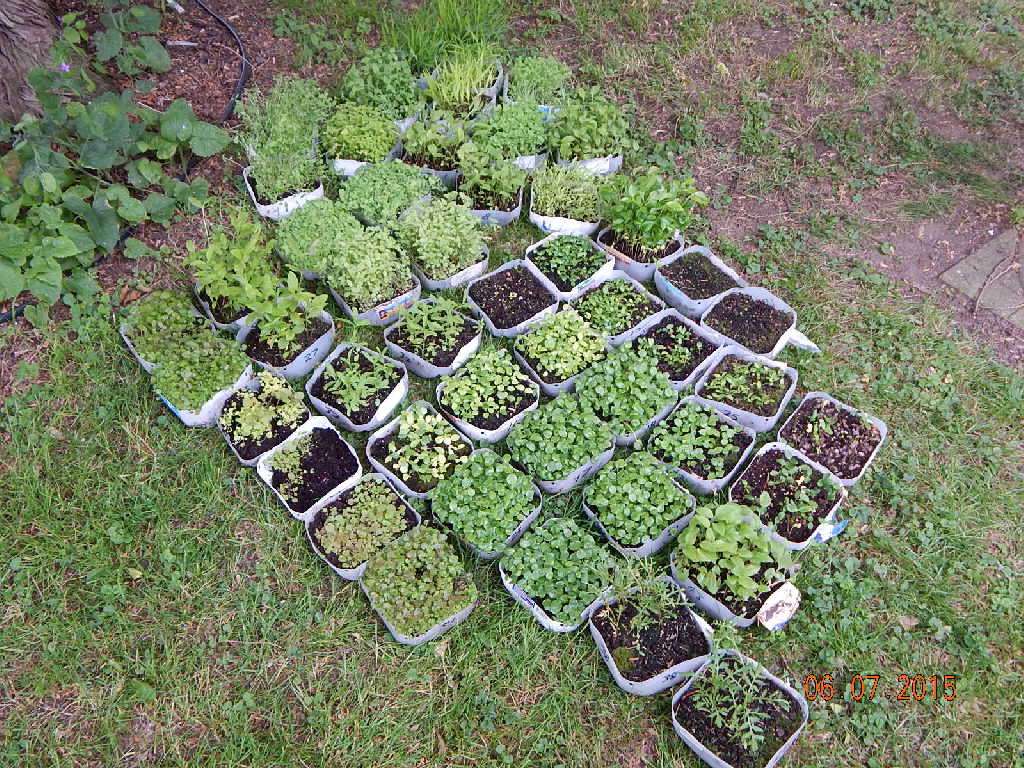
You won’t have to do all the work of getting them acclimated to outside conditions like those that are grown indoors under fake lighting. Once they put on some good growth they can be removed and potted up.
