How to Prune Apple Trees
How to Prune Apple Trees
If you have ever wondered how to prune apple trees, you are not alone. I’m not talking about an apple orchard here. Just the average apple tree owning homeowner.
I have 2 apple trees in my yard. A Cortland and a McIntosh, my favorite varieties. Hopefully, you already know that you need at least 2 different varieties for cross-pollination.
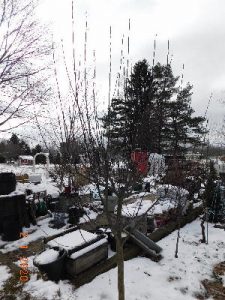
I have had my trees for about 7 or 8 years and as of yet, no apples. These trees should work hand in hand to produce fruit. I bought these as very young trees.
Looks aren’t everything
As the saying goes, if you have a good looking apple tree, you aren’t growing it right. Something like that at any rate.
Like everybody else, well almost everybody, I searched the internet for how to prune my apple trees. I even have books on pruning.
All pruning is not the same
I prune my Japanese Maples and many of my shrubs. But this is different. Besides the obvious cuts to make, there wasn’t much help in telling me what to cut or why.
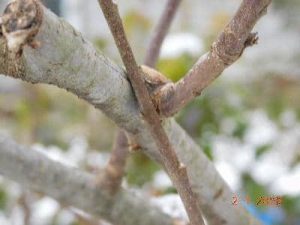
Crossing and damaged branches are always cut off, but where? What about all that nice long growth?
I read about removing the vertical growth. Hey, that’s most of the tree! You want an open center to let the light in. Huh?
A friend to the rescue
Another grower friend of mine, Ken Wagner, was here buying some plants. Ken is way more knowledgeable about pruning these than I will ever be.
It is the beginning of February and the trees are still dormant. They will start to wake up in just a few weeks. If you don’t already know, I am up here in the northwest corner of Pennsylvania.
We still have a couple of months of cold weather ahead. Even though Phil has predicted an early Spring.
Dormant pruning will not damage the trees. What, with all these cuts? The trees will wake up and start growing as if nothing happened. The cuts you make need to be smooth and clean.
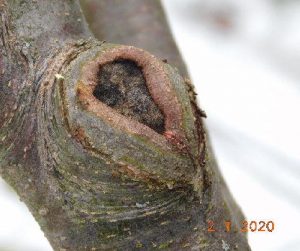
The tree will heal over these cuts just like you heal over a cut on your finger. A scar will show for a while and then that will also disappear.
First things first
Read through all of this and understand it before you make the first cut.
You will need a pair of sharp hand pruners. You want bypass pruners, not anvil pruners. Bypass pruners cut like scissors and leave smooth cuts.
Larger, long-handled bypass pruners will come in handy on the bigger branches. While most pruners will handle 3/4 inch or even 1-inch diameter cuts, they are very difficult to make.
Take a good look
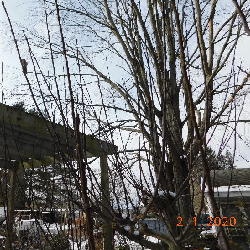
Now that you have your cutters, step back and take a look at your tree. I know it may look so nice with all those branches. Mine even had a bird’s nest at the top. It won’t look pretty when we’re done.
Try to find the main structure of the tree. What you are looking for are the main limbs that are growing more outward. Those will be the main areas to work on.
Remember the open center? What we want to accomplish is an open, wide tree with little to no central growth. All those vertical branches are filling the center and shading it. They also prevent free airflow.
With no leaves, it is easy to see wayward branches. The first cuts we will make are the damaged branches. Broken and rubbing branches will just cause trouble in the future.
If these branches are growing on top of your main limbs, cut them off at the limb. Make all of your cuts smooth and clean. They should be right where the branch exits the limb.
That wrinkly bark around it is the collar. It will grow over your cut and make the scar. That is the tree’s bandage for self-healing.
Next up, cut all of the nice vertical branches that are growing in the center. I know it’s hard to do, but it is necessary. I’ll give you a few minutes to get all that done and to dry your tears.
Ain’t so pretty now
Your pretty tree has lost a lot of its good looks now. You will notice on my tree all of that growth at the top.
The cuts up until now were to remove unwanted growth. From here on out, we will be trying to tell the tree to grow as we want it to.
Go with the nodes
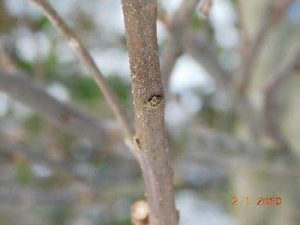
Do you see all those bumps on the branches? That is where the leaves were. That is also where new branches will grow. Those are called nodes.
With these tall center branches, I want to cut them off all the way down to where the first node is pointing toward the outside of the tree. Make all of these node cuts about a quarter-inch above the node.
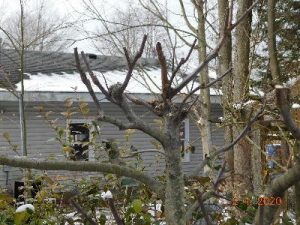
Think of the nodes as an arrow pointing where you want it to grow. If you can’t reach these cuts, please use a stool or small step ladder, CAREFULLY! I am 6 feet tall and can reach my cuts.
Your tree should look shorter and more open in the center by now. Now it is time for the serious pruning.
Time for the real pruning
You want the tree growing outward but not with long narrow branches. If left alone, these branches would continue to grow longer and longer.
Several short branches growing outward is better. To get that, we will cut these branches back by about 2/3 to 3/4. If you have any branches that are growing downward, remove them completely back to the limb.
Time to go node hunting again. Find a node that is pointing in the direction needed and cut as before. Generally, we want a node that points out away from the tree. But you may have an open area between limbs.
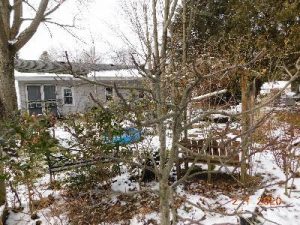
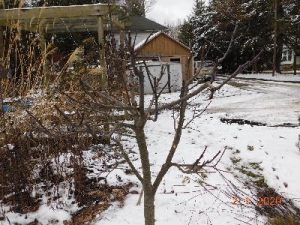
I also like to remove or at least cut back any of the really small tiny diameter branches that are growing. They probably won’t amount to much and can be removed.
One last thing to look for. Cut off any suckers that may be growing up from the base of the tree.
A word of wisdom inserted here.
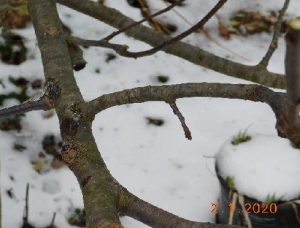
Do not cut off any of those short stubby branches. Those are spurs and that is where your apples will grow.
Now step back and admire all of your hard work. I told you it would look bad. But hopefully, we will all get some apples to enjoy later in the fall.
